Digital Forensic:CompTIA Cybersecurity Analyst (CySA+)
- Cyber-Incident Response: Summarize the incident recovery and post-incident response process
Domain 3: Cyber Incident Response
- Phases of an incident response
- Creating an incident response team
- How to classify an incident
- Analyzing network events
- Basics of Digital Forensics
Exam objec tives covered in this
chapter :
✓✓ 3.1 Given a scenario, distinguish threat data or behavior
to determine the impact of an incident.
■■ Threat classification
■■ Factors contributing to incident severity and prioritization
✓✓ 3.2 Given a scenario, prepare a toolkit and use
appropriate forensics tools during an investigation.
■■ Forensics kit
■■ Forensic investigation suite
✓✓ 3.3 Explain the importance of communication during the
incident response process.
■■ Stakeholders
■■ Purpose of communication processes
■■ Role-based responsibilities
✓✓ 3.4 Given a scenario, analyze common symptoms to select
the best course of action to support incident response.
■■ Common network-related symptoms
■■ Common host-related symptoms
■■ Common application-related symptoms
✓✓ 3.5 Summarize the incident recovery and post-incident
response process.
■■ Containment techniques
■■ Eradication techniques
■■ Validation
■■ Corrective actions
■■ Incident summary report
Lab Exercises
Create a Disk Image
In this exercise you will use dd to create a disk image and then verify the checksum of
the image.
Part 1: Boot a Kali Linux system and mount a drive
1. Start your Kali Linux virtual machine.
2. Select a USB thumb drive that is formatted as FAT32 to make an image of for this
practice session. A smaller drive will be faster to image, and you should make sure you
image a drive smaller than the space you have available for your Kali Linux system.
3. In the Devices menu for the running Kali virtual machine, select USB and then the
drive you have inserted. The device should now show up on your Kali Linux desktop.
4. Verify that you can navigate to the drive from the command line. Open a terminal
window, then navigate to /dev/disk/by-label, and make sure you see the name of the
thumb drive you have mounted.
Part 2: Clone the drive
1. Create a temporary working directory for your volume by running
in your terminal window. This will create a directory called tmp in your home
directory.
2. Create an MD5 checksum of the volume you intend to clone in your home directory:
md5sum /dev/disk/by-label/[label of your drive] > ~/exercise7_1_original.md5
DD
- Standard Linux and UNIX tool
- Can clones drives using bit-by-bit copy
3. Clone the volume or disk:
dd if=/dev/disk/by-label/[label of your drive] of=~/tmp/exercise7_1_disk.img bs=64k
4. Once this completes, verify the integrity of the image using MD5:
md5sum ~/tmp/exercise7_1_disk.img > ~/exercise7_1_clone.md5
5. Now compare the MD5 files. You can do that by using the more command to view the
files, or you can record the values here:
MD5= 027bcfd18c10718550b9dae5adfa0208
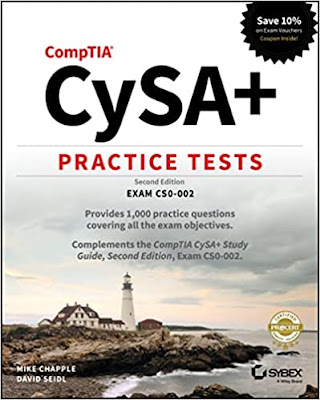
Refer: CompTIA CySA+ Practice Tests: Exam CS0-002, 2nd Edition
CompTIA CySA+ Study Guide Exam CS0-002 2nd Edition
หมายเหตุ:เนื้อหาในเว็บไซต์นี้มีขึ้นเพื่อวัตถุประสงค์ในการให้ข้อมูลและเพื่อการศึกษาเท่านั้น
* หากมีข้อมูลข้อผิดพลาดประการใด ขออภัยมา ณ ที่นี้ด้วย รบกวนแจ้ง Admin เพื่อแก้ไขต่อไป
ขอบคุณครับ
#WindowsForensic #computerforensic #ComputerForensics #dfir #forensics
#digitalforensics #investigation #cybercrime #fraud
* หากมีข้อมูลข้อผิดพลาดประการใด ขออภัยมา ณ ที่นี้ด้วย รบกวนแจ้ง Admin เพื่อแก้ไขต่อไป
ขอบคุณครับ
#WindowsForensic #computerforensic #ComputerForensics #dfir #forensics
#digitalforensics #investigation #cybercrime #fraud


.jpg)


No comments:
Post a Comment